
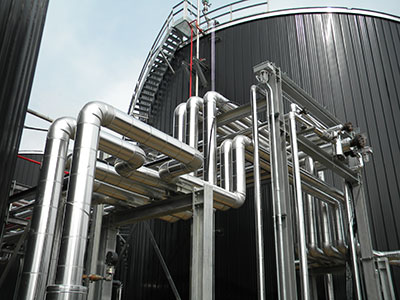
When thermal loss and system reliability threaten my industrial tanks, I need insulation that delivers safety and durability.
Foam glass insulation is installed by preparing clean surfaces, cutting panels to precise sizes, fixing them securely, and sealing joints with specialized adhesive to prevent moisture and air leaks. Proper installation protects tanks from corrosion, temperature swings, and energy loss.
I often see tank insulation failures due to small mistakes in the installation process. If I want my materials to perform at their very best for years, I have to pay attention to every step. From prepping the substrate to sealing the joints, every detail matters. Understanding the technical points helps me avoid costly repairs and hidden risks, especially for cryogenic and chemical tank applications.
What is the minimum thickness for foam glass insulation?
Reducing heating or cooling losses and risk of condensation can be a challenge if I use foam glass insulation that’s too thin.
The minimum recommended thickness of foam glass for tanks is usually 50 mm for standard industrial use, but can increase to 100 mm or more for cryogenic tanks. Selecting the correct thickness depends on the operating temperature, needed R-value, and the application environment.
When preparing to insulate a tank, I first review the thermal resistance required by local regulations and project specs. Foam glass has a standard thermal conductivity of around 0.038 W/(m·K), so thickness translates directly to energy savings. For chilled water tanks, minimum 50 mm protects against heat gain and stops moisture penetration. For LNG or other very cold chemicals, project engineers often specify up to 150 mm thickness. Field experience teaches me that going below standards leads to condensation inside insulation and risks of corrosion. I always check the manufacturer’s charts and consult with engineers, because choosing the right thickness gives my tank systems their longest possible lifespan.
Which side faces out on foam board insulation?
Getting the sides wrong can mean trapped moisture or decreased durability. I want to be sure the insulation is working as designed.
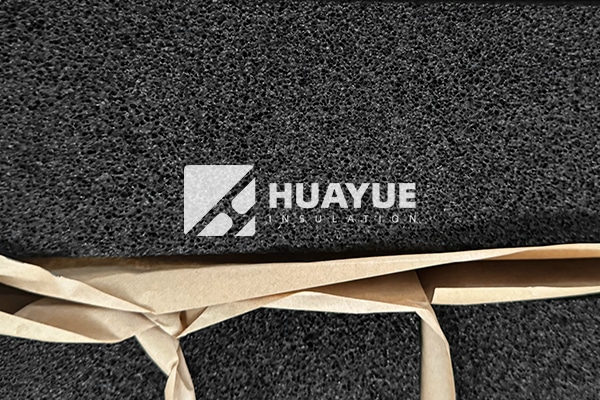
On foam glass panels, the side with the vapor-tight skin or protective coating should face outwards, away from the tank, when installed. This prevents external moisture from reaching the insulation core and ensures long-term fire and water resistance.
Most foam glass products have a smooth, dark surface which is denser and vapor-impermeable. The opposite side is usually lighter, showing the closed-cell structure. When I install, I always orient the vapor barrier side outward, because this shields the tank from rain or accidental spills. For outdoor tanks, this setup stops water from entering the insulation and prevents freeze-thaw damage during cold seasons. Experienced installers know that this orientation is vital for keeping insulation dry, free from corrosion under insulation (CUI), and maintaining energy efficiency. Sometimes the manufacturer applies an extra fireproof coating—if so, it always faces out, protecting both the insulation and the tank shell.
What is the life expectancy of foam glass?
If I am planning capital improvements, knowing how long foam glass will last can affect my entire maintenance schedule and long-term costs.
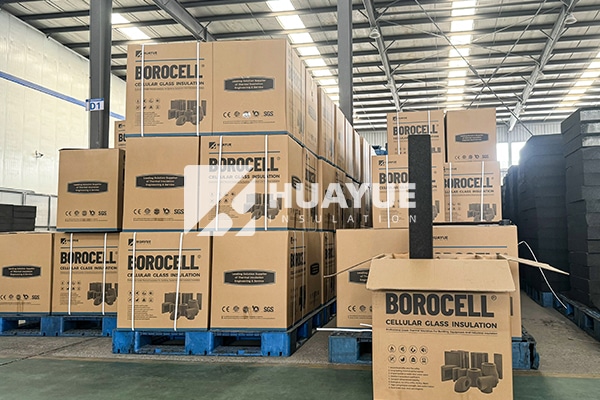
Foam glass insulation can last over 30-50 years in industrial settings due to its inorganic, non-absorbing structure, high compressive strength, and resistance to moisture and fire.
I often compare foam glass to other materials, like rock wool or rubber foam. Foam glass stands out for its resistance to rot, mold, insects, and chemical attack. This material is made by fusing recycled glass with a foaming agent, forming closed cells that repel water and chemicals. I know several chemical tank installations from the 1980s that still have original foam glass insulation, with only surface repairs needed after decades. When properly installed and maintained, foam glass will not crumble, deform or lose insulation value, even in harsh conditions. This reliability reduces my maintenance budget and minimizes the risk of unplanned downtime, making it an attractive long-term choice for demanding projects.
How to properly install foam glass insulation?
Making one small error during installation can create serious problems for tank safety and efficiency.
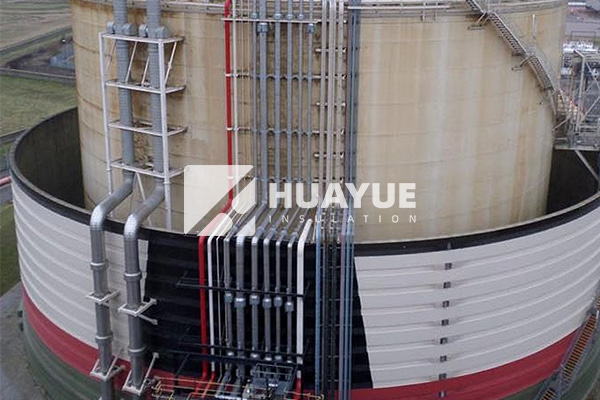
Proper foam glass installation requires cleaning the tank surface, accurate cutting and dry-fitting, using the correct adhesive for joints, tightly sealing all seams, and applying protective outer coatings when necessary for weather or fire exposure.
Years of industrial experience taught me that surface preparation matters more than many realize. I always start by removing rust, dust, and old paint from the tank shell, then measure and mark each panel carefully. I use a fine saw for straight, clean cuts. For large tanks, I fit panels together tightly and stagger the joints in each layer to avoid thermal bridging. At every seam I apply adhesive recommended by the manufacturer, then press edges together until set. I check for gaps with a flashlight or feeler gauge, making sure nothing is left open to moisture or air leaks. For outdoor tanks or areas with fire risk, I finish with a vapor barrier tape or a fire-retardant coating, sealing the insulation against the elements. Good installation means my tanks stay reliable, my maintenance schedule stays predictable, and I get the most from my investment.
Conclusion
Foam glass insulation, when properly installed and selected, delivers lasting safety, efficiency, and cost savings for industrial tanks.